Real Estate Virtual Staging Photos: Before-After Examples, Styles, and Templates
When you’re looking for virtual staging photos or real estate home staging photos, you’re usually trying to answer one question: “What will my listing actually look like once it’s virtually staged?”
This page is a visual walkthrough of real estate virtual staging photography. Instead of theory, it focuses on:
- How the same style looks across 5 different rooms.
- How different styles can transform the exact same room.
- How simple image enhancements (brighten, darken, HDR enhance, color correction, remove clutter, enhance sky) change the impact of your listing photos.
Throughout, you can use these examples as a checklist when evaluating any virtual staging tool.
1. Staging a 3-Bedroom Condo with One Consistent Style
One of the fastest ways to make a 3-bedroom condo feel cohesive is to keep a consistent design style across all your virtual staging photos.
Below are five key spaces from a typical 3-bedroom condo – living room, primary bedroom, dining area, flex/office, and balcony – all staged in the same general style.
1.1 Living Room – Hero Image
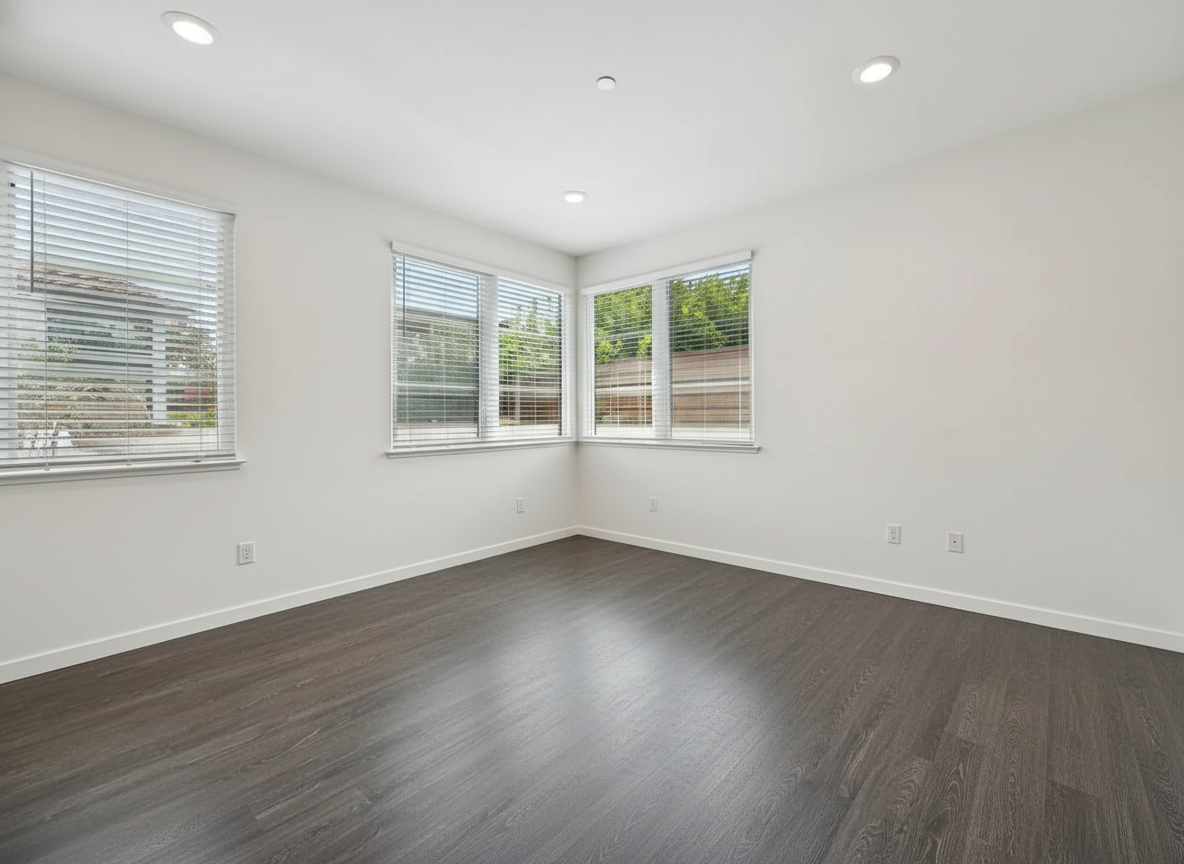
- Before: Empty living room with bare flooring and neutral walls.
- After: Sofa, coffee table, rug, and decor in a matching style.

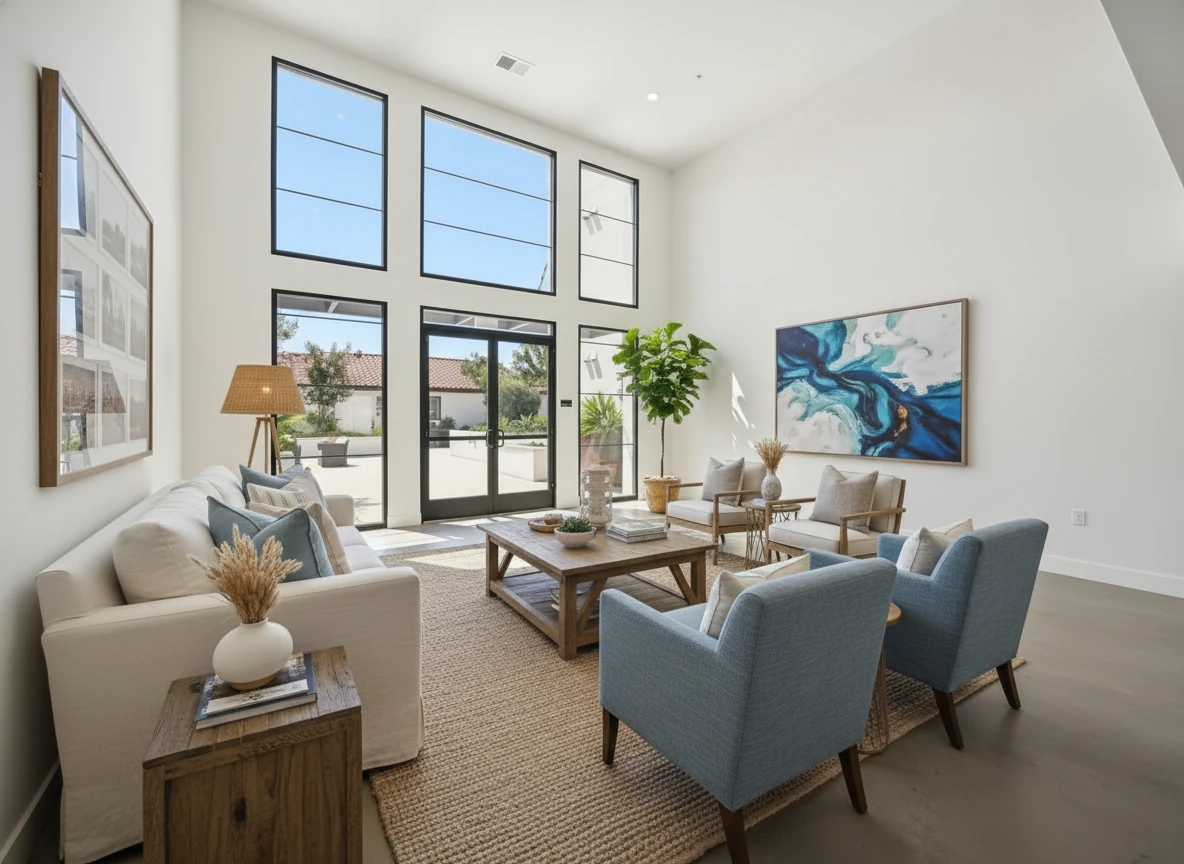
Virtual Staging • Coastal • Living Room
1.2 Primary Bedroom
- Before: Vacant bedroom with only walls and carpet/wood floor.
- After: Bed, nightstands, lamps, and art using the same color story as the living room.
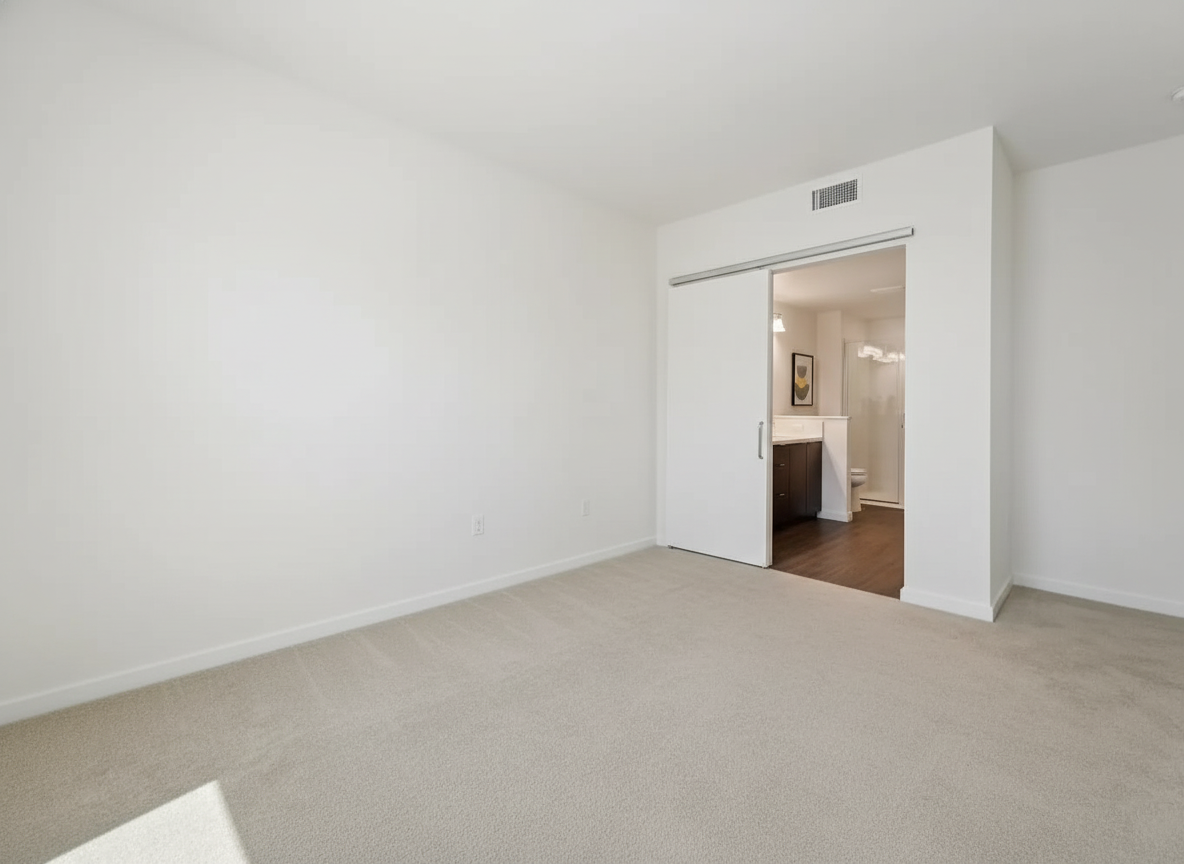
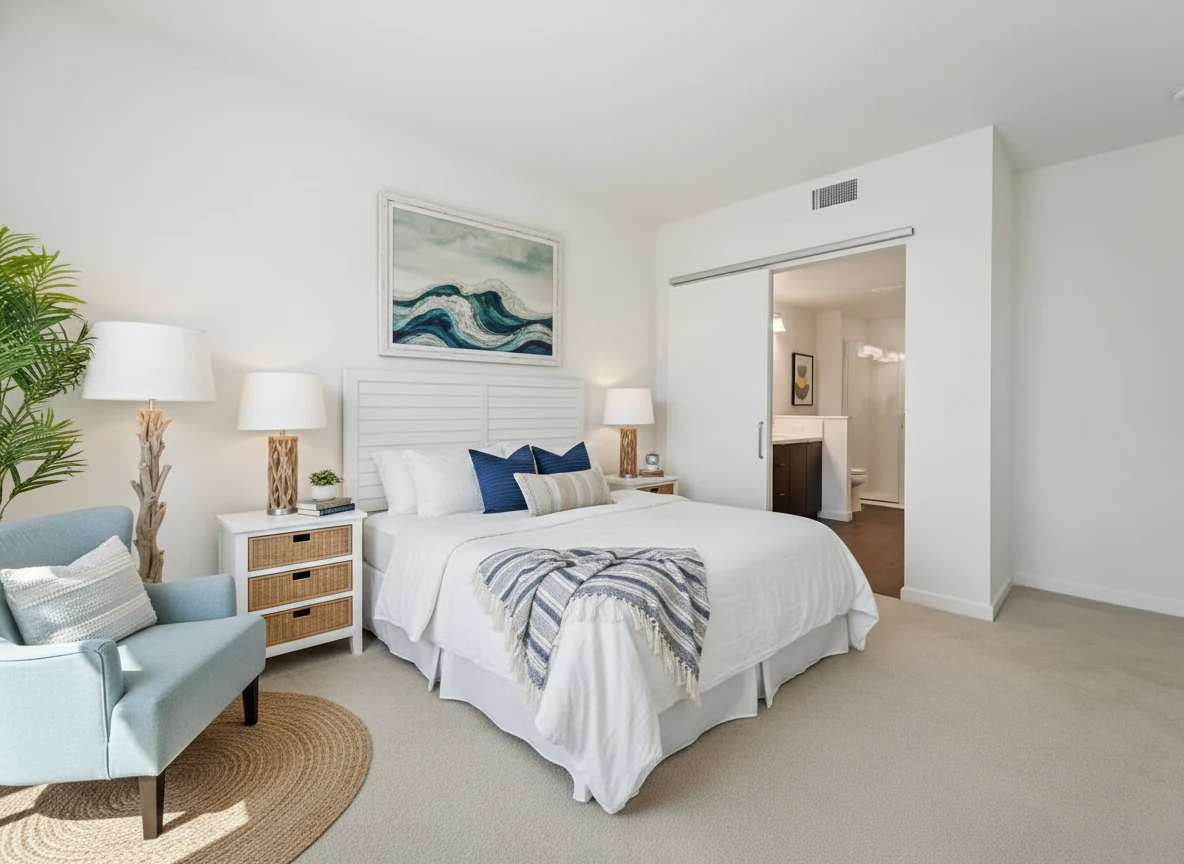
Virtual Staging • Coastal • Bedroom
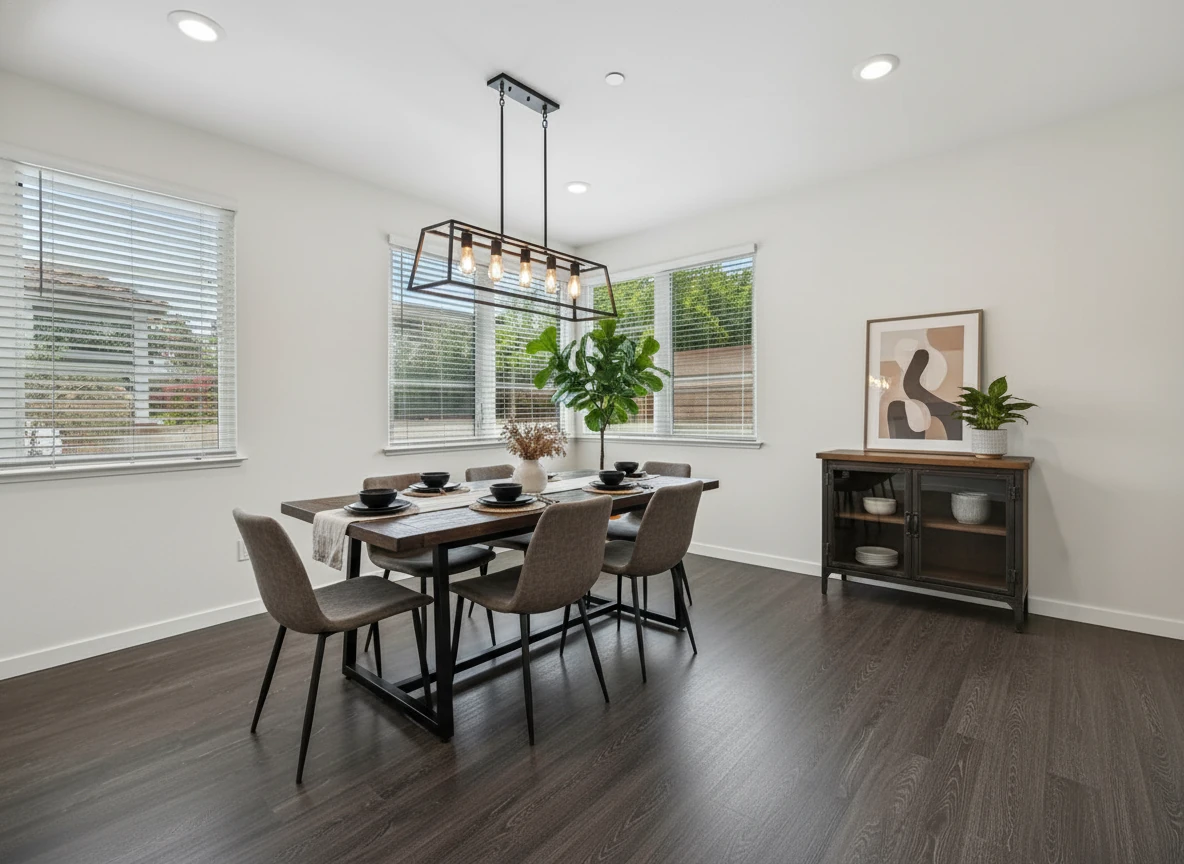
1.3 Dining Area
- Before: Empty space that’s hard to read in listing photos.
- After: Dining table, chairs, and a simple centerpiece that match the living room furniture.
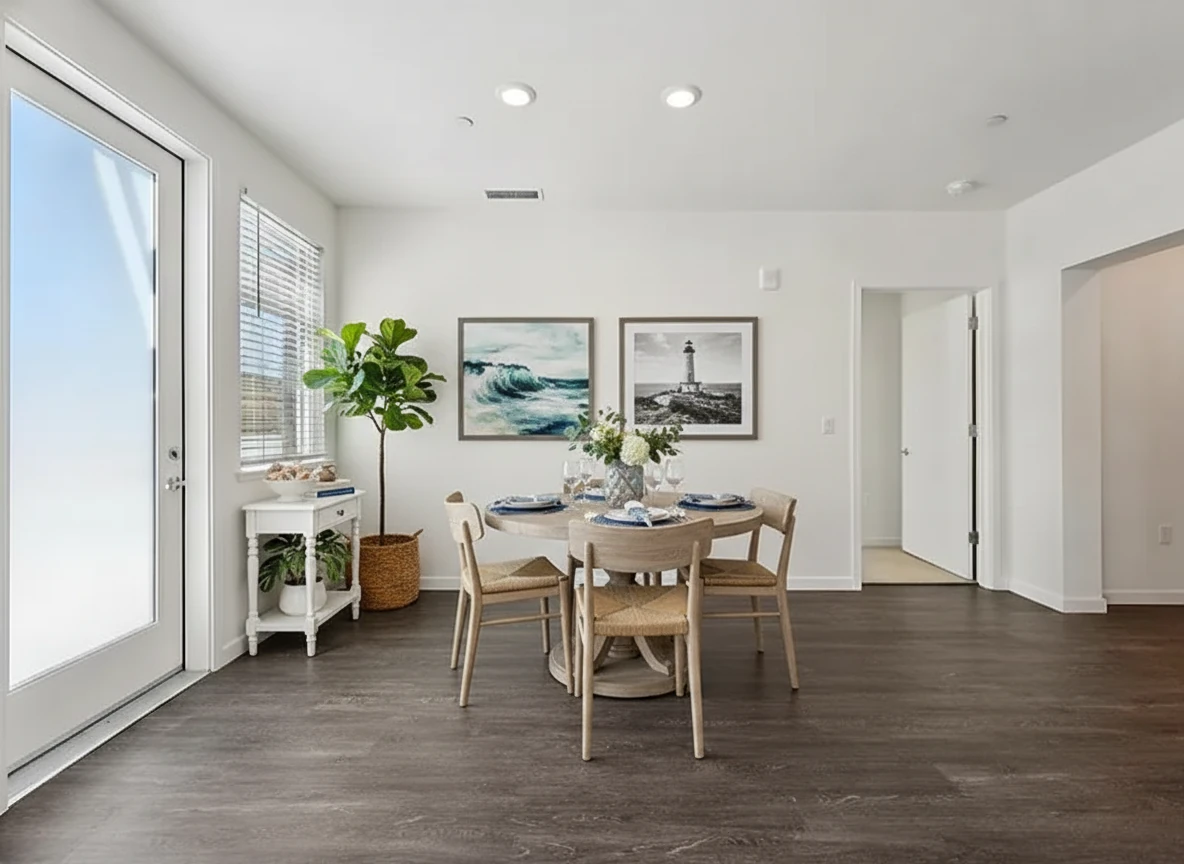
Virtual Staging • Coastal • Dining Room
1.4 Home Office / Flex Room
- Before: Blank secondary bedroom or den.
- After: Desk, chair, shelving, and decor that still feel related to the main living areas.
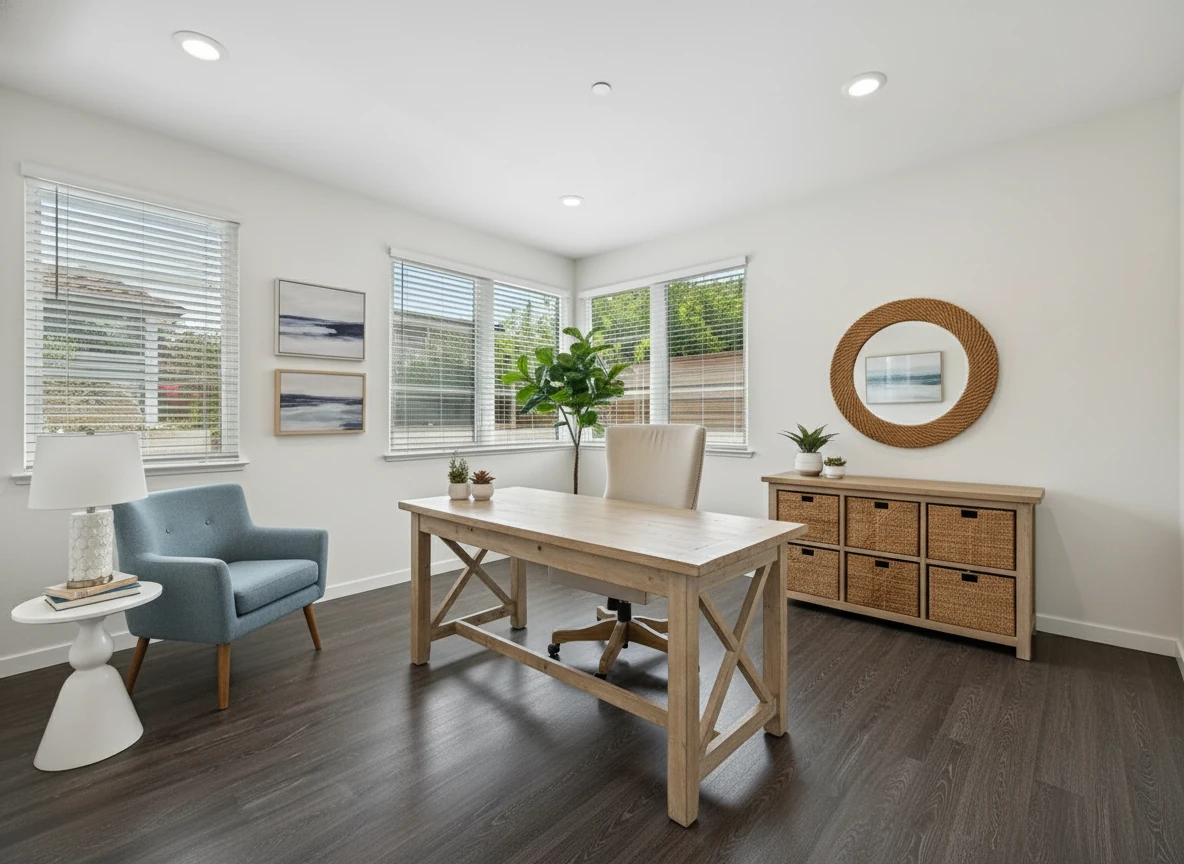
Virtual Staging • Coastal • Home Office
1.5 Patio or Balcony
- Before: Empty outdoor area with little sense of scale.
- After: Outdoor seating or dining setup that echoes the interior style.
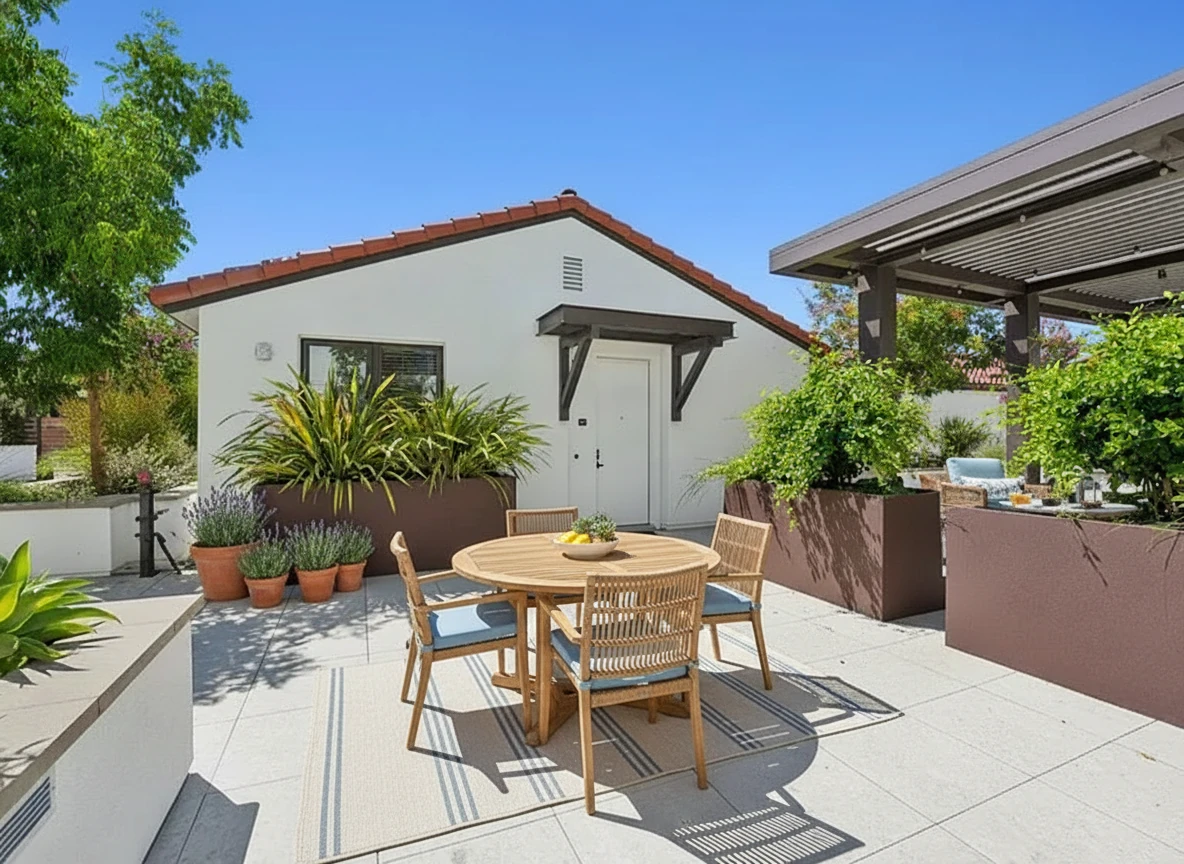
Virtual Staging • Coastal • Garden
What to Look For Across All 5 Rooms
- Does the furniture scale feel correct in every room?
- Do colors and materials feel like they belong to the same property?
- Does the set of virtual staging photos feel like a single, cohesive story?
In the process of creating these consistent look across the property, you should expect certain images to be generated with unwanted furnitures or details. Either add your specific requirements at the bottom of the template composer, or click generate again to try a different variation.
2. Different Styles on the Same Room
When you’re working with a template composer, you don’t have to write detailed style prompts or remember what you used last time. You pick a room type, choose a style preset (e.g. modern, Scandinavian, traditional), and the tool handles the rest.
Below, you can treat the exact same dining room photo as a test bed for four different style presets. This is what those presets actually look like when they’re applied. The change is only applied to furnitures without changing any structure to be compliant with MLS guidelines.
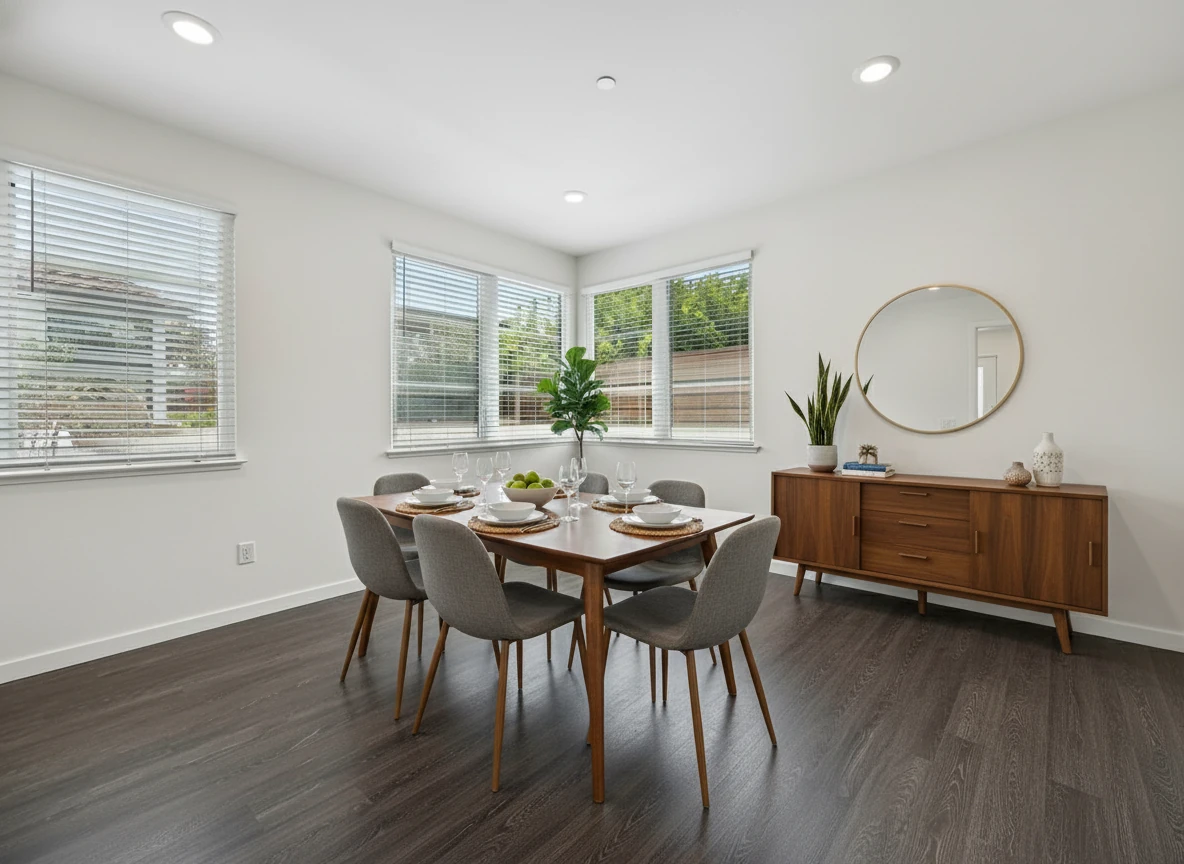
2.1 Scandinavian
- Light wood dining table, simple upholstered chairs, and clean-lined sideboard.
- Neutral textiles and a few plants or candles to keep the setup bright, calm, and broadly appealing.

Virtual Staging • Scandinavian • Dining Room
2.2 Industrial
- Dining table with a wood top and dark metal base, paired with slim metal or leather chairs.
- Minimal decor on the table (maybe a single centerpiece) so the furniture feels strong and unfussy.
Virtual Staging • Industrial • Dining Room
2.3 Luxury
- Generous dining table with polished surface, fully upholstered chairs, and a statement light fixture above.
- Layered table settings and a refined centerpiece so the whole scene reads as upscale and aspirational.
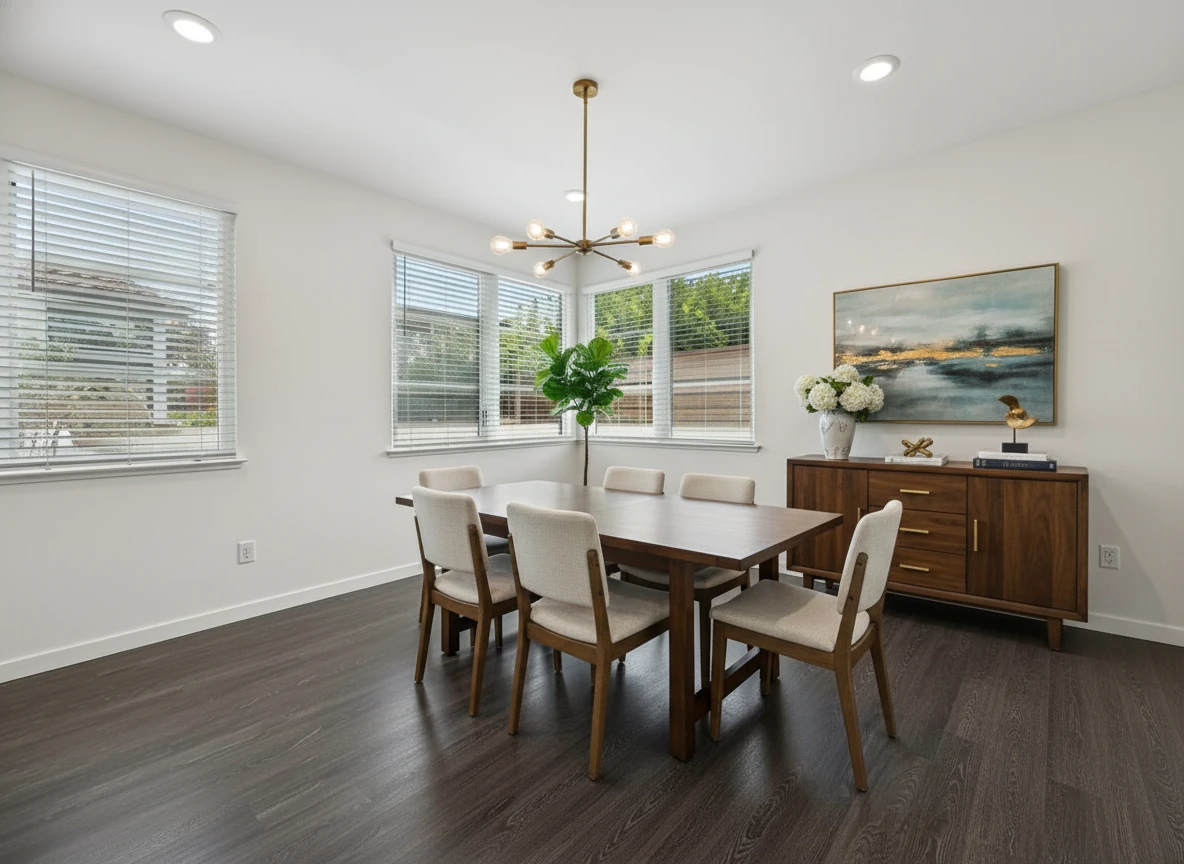
Virtual Staging • Luxury • Dining Room
2.4 Mid-Century Modern
- Rectangular or round wood dining table with tapered legs and molded or low-profile chairs.
- A few bold shapes or colors in the art, rug, or centerpiece to add character without clutter.
Virtual Staging • Mid-Century Modern • Dining Room
How to Use Style Variations
- Pick the style that best fits your target buyer and local market.
- Consider testing two styles in marketing (e.g. modern vs coastal) and see which gets more engagement.
- Use the same base photo to keep comparisons honest – only the virtual staging should change.
3. Image Enhancement Examples (4 Common Fixes)
Virtual staging photos don’t just depend on furniture – the base photo quality matters a lot. Simple image enhancements can dramatically improve how your staging looks.
Here are four common enhancement options and what they do.
3.1 HDR Enhance
- Balances bright windows and darker interiors.
- Helps you see both the view and the room without looking overly fake.
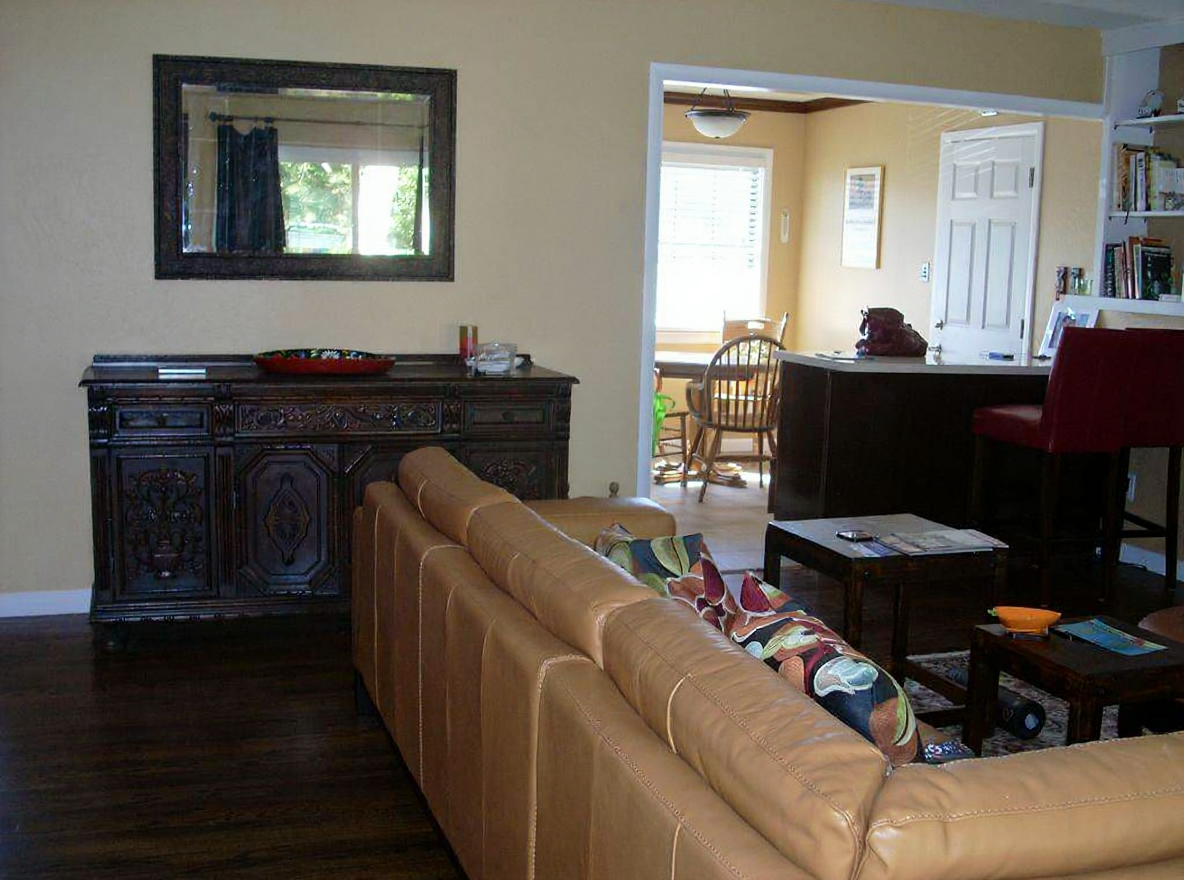
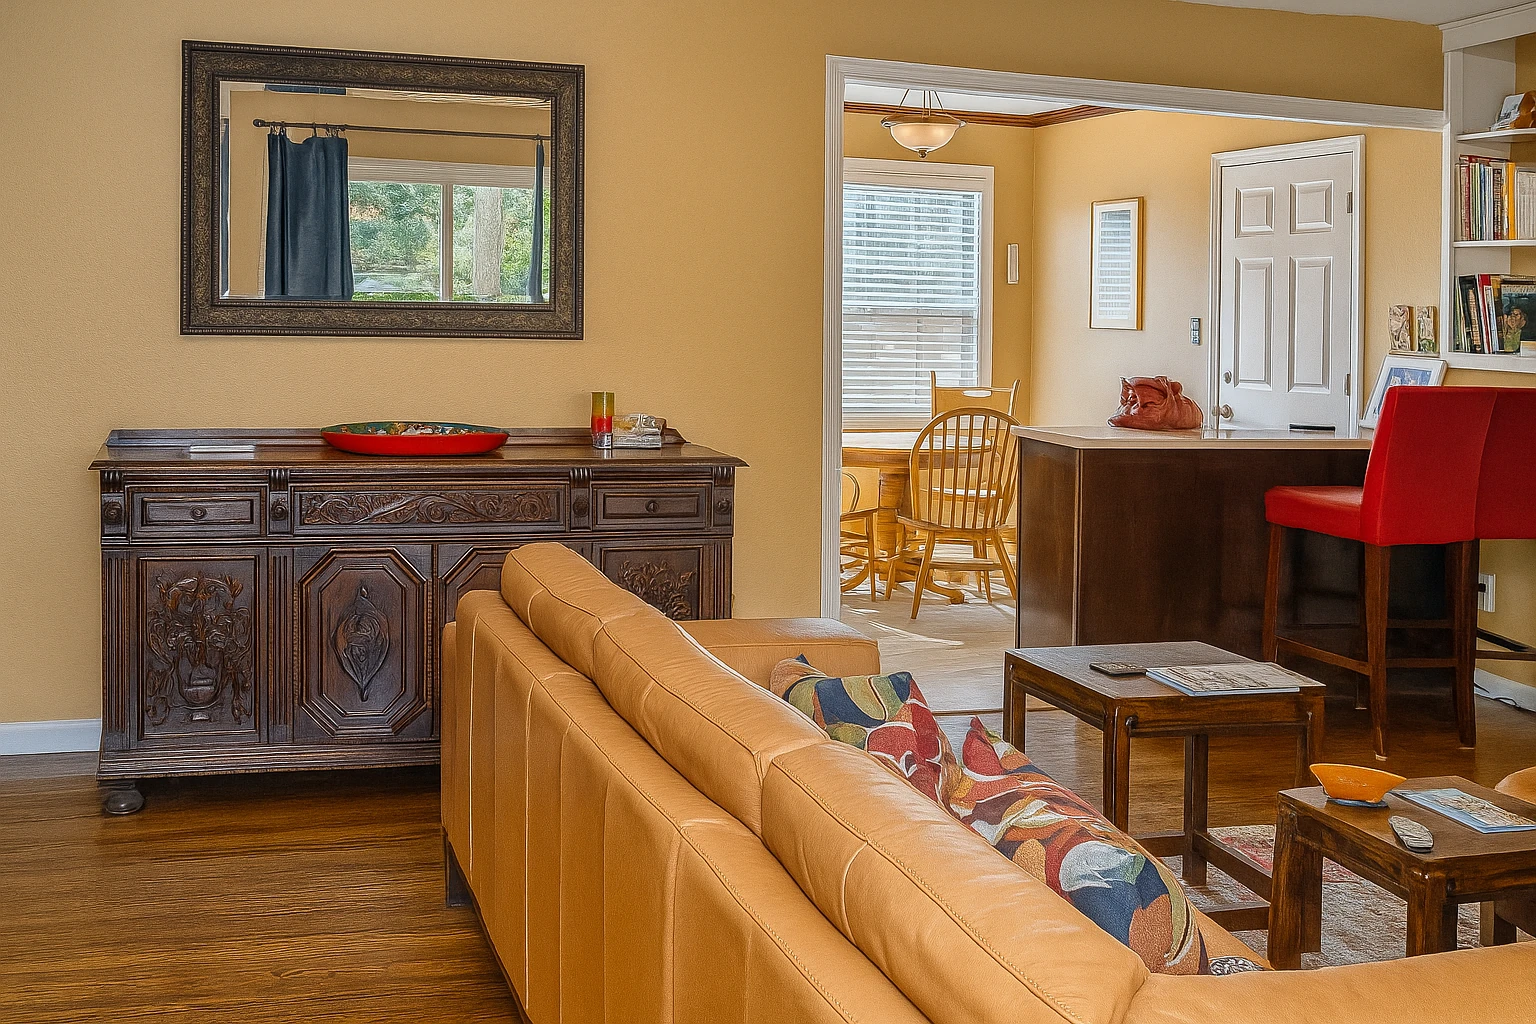
Photo Enhance • HDR
3.2 Color Correction
- Fixes yellow or blue color casts from mixed lighting.
- Brings walls, floors, and furniture back to natural, neutral tones.
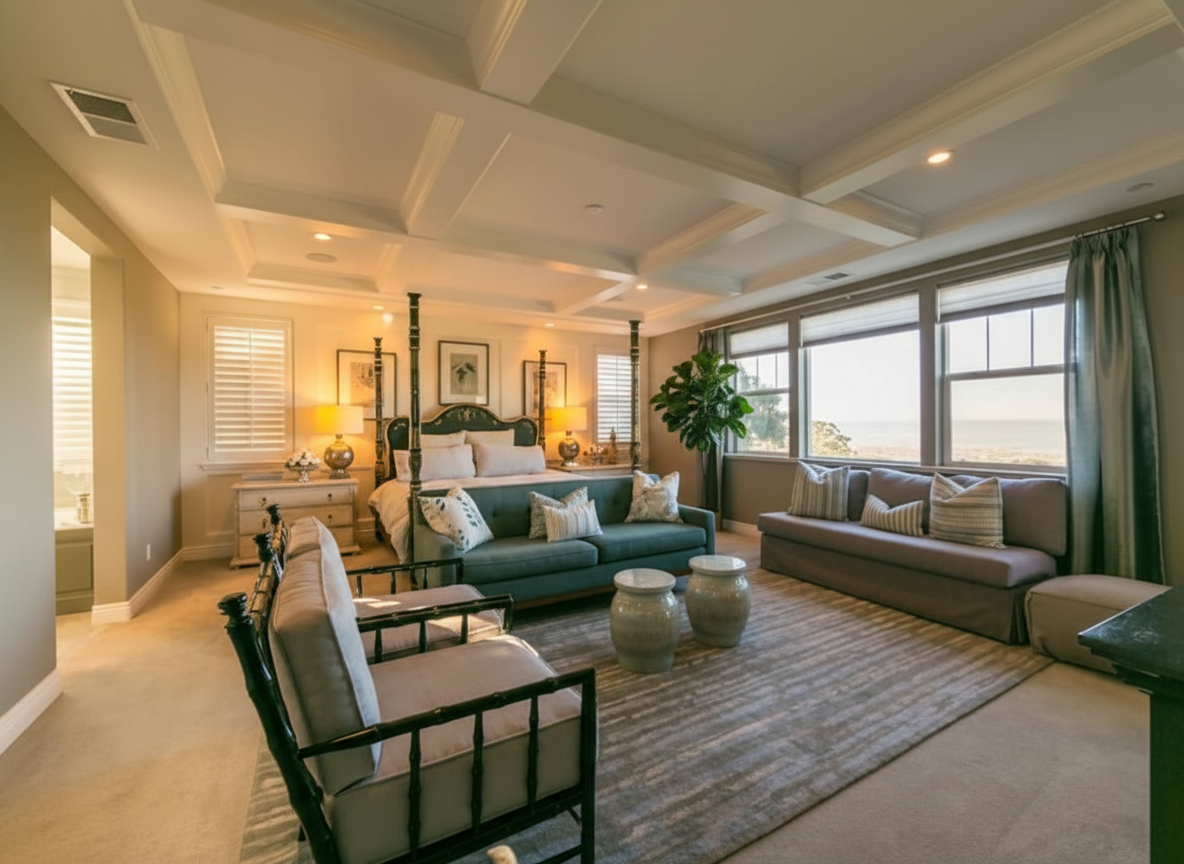

Photo Enhance • Color Correction
3.3 Remove Clutter
- Clears distracting items (toys, cords, personal items) before staging.
- Gives the AI a clean canvas to work with for furniture and decor.
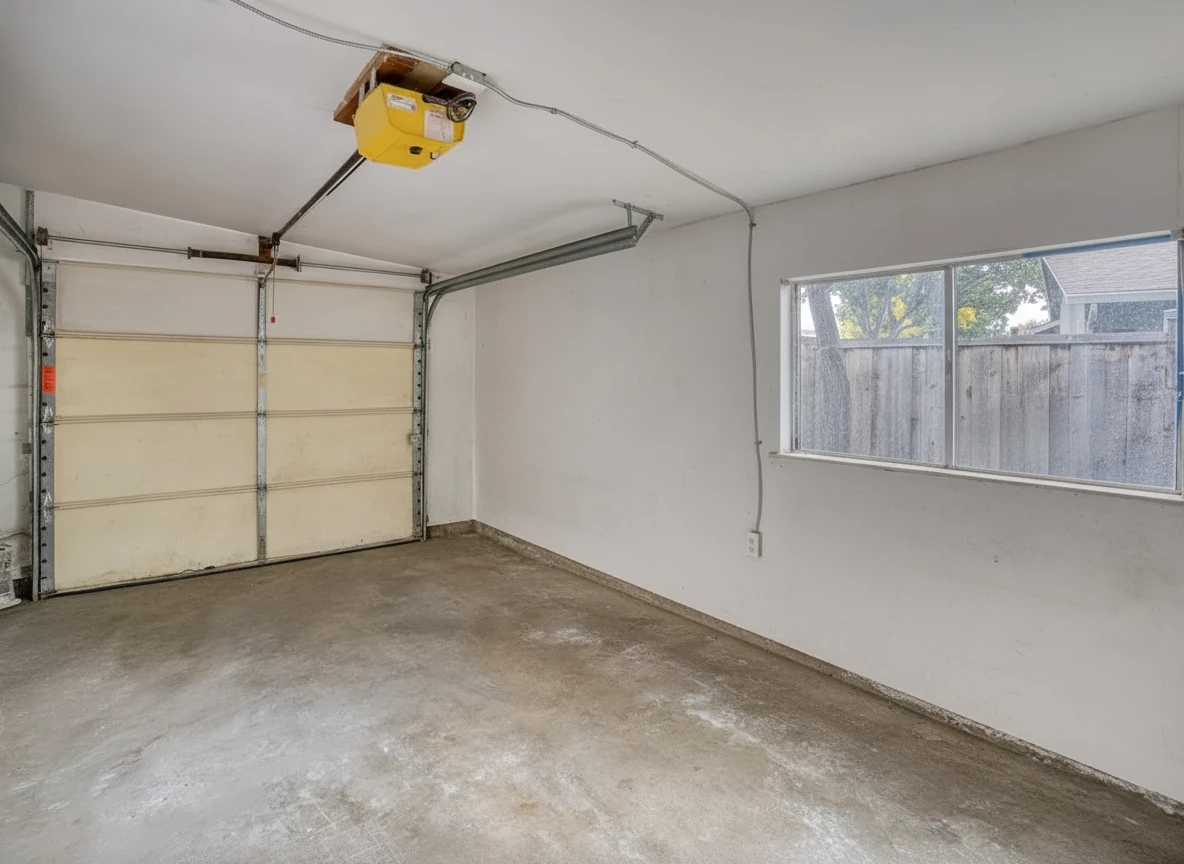
Item Removal • Remove All Furniture
3.4 Enhance Sky (Exteriors)
- Replaces flat or blown-out skies with a natural, appealing sky.
- Makes exterior photos feel more inviting without altering the structure of the home.
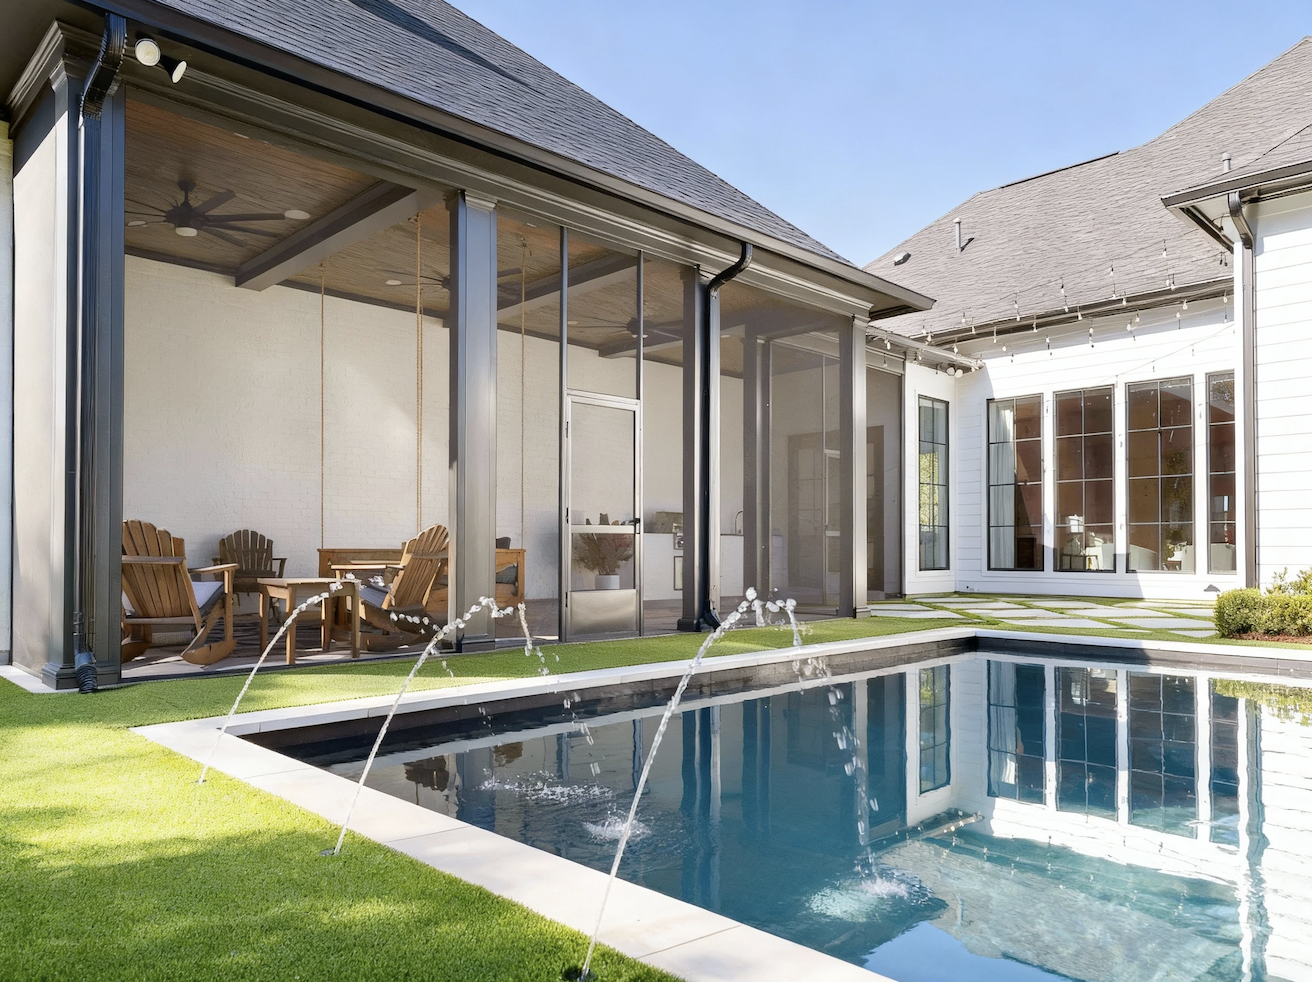
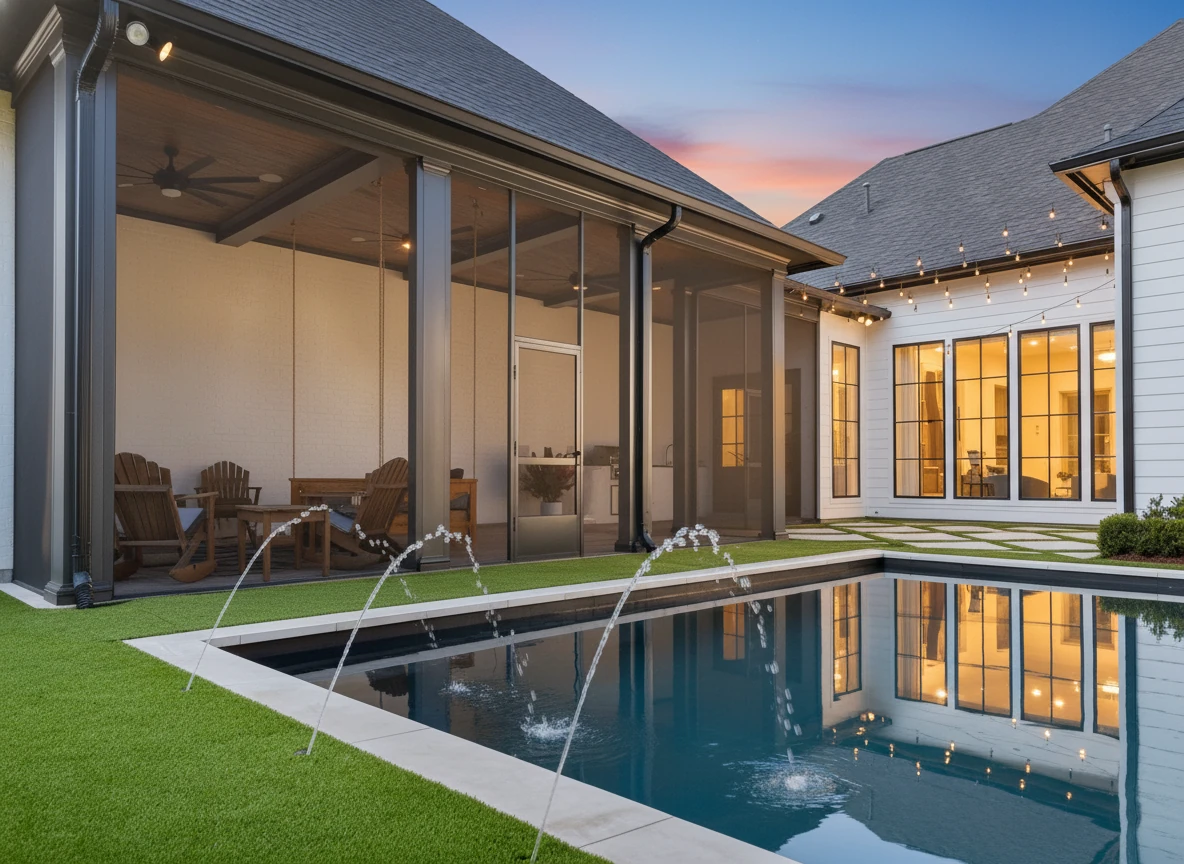
Day to Dusk • Pool Area
Why Enhancements Matter for Virtual Staging Photos
- Better base photos lead to more believable, virtual staging photography.
- Fixing exposure and color first makes furniture and decor look more realistic.
- Clean, corrected images help you stay within MLS guidelines while still standing out in search results.
Summary: How to Use Virtual Staging Photos in Your Listings
Gallery-style virtual staging photos are one of the fastest ways to show buyers what a property could look like without committing to full in-person staging.
To get the most from them:
- Keep a consistent style across your key rooms so the listing feels unified.
- Use style variations on the same room when you need to test what resonates with your market.
- Don’t skip image enhancement – fixing lighting, color, and clutter makes every staged photo more convincing.
From here, you can:
- Upload your own empty-room photos.
- Apply templates for room type and style so you don’t have to design from scratch.
- Build a small library of before-after examples you can reuse in listing presentations and marketing.
Related Articles and Resources
If you’d like to go deeper into virtual staging workflows, pricing, and tool choices, these articles are a good next step:
- Virtual Home Staging Complete Guide – Cost, before-after examples, tools, and AI vs traditional
- Virtual Staging vs Local Home Staging Near Me – Head-to-head comparison of local staging companies vs virtual staging
- Best Free Virtual Staging Apps in 2025 – Side-by-side comparison of Stager Go, ChatGPT image tools, and other apps
- AI Virtual Staging Guide on Stager Go – Detailed guide to using Stager Go’s template-based workspace